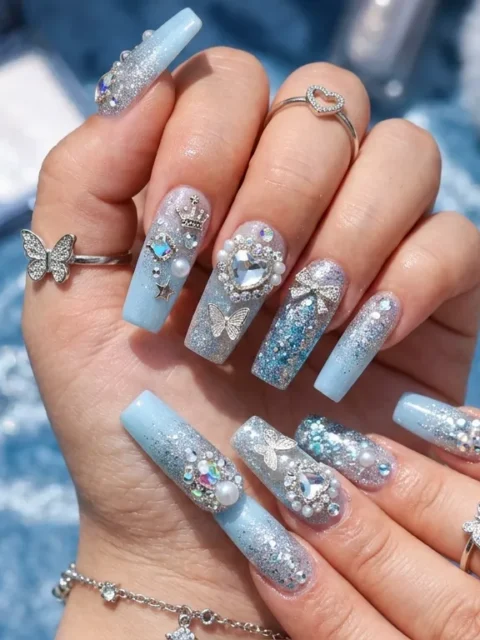
The soft glow of candlelight catches the edge of a sleek black cocktail dress, and you catch a glimpse of your own nails—glossy, velvety, unmistakably luxe. A whisper of silver on charcoal, a blush marble swirl, a subtle chrome fade—each one feels like a designer secret you just uncovered.
Here are 5 modern nail designs that look expensive and sleek, each paired with a quick tip or budget swap so you can recreate the high‑end vibe at home without breaking the bank.
- Easiest for beginners: Midnight Velvet Matte – Deep Charcoal With a Touch of Silver
- Most dramatic: Chrome Gradient Fade – From Mirror Silver to Soft Gray
- Best for short nails: Geometric Negative Space – Black Grid on Nude Base
- Perfect for a spring brunch: Blush Marble Minimalist – Soft Pink With White Veins
Before You Start: Nail Prep Essentials
Picture yourself slipping on a sleek, satin‑finished dress for a rooftop cocktail, your nails catching the city lights like tiny mirrors. A smooth, flawless canvas is the secret that lets every modern design shine without a hitch.
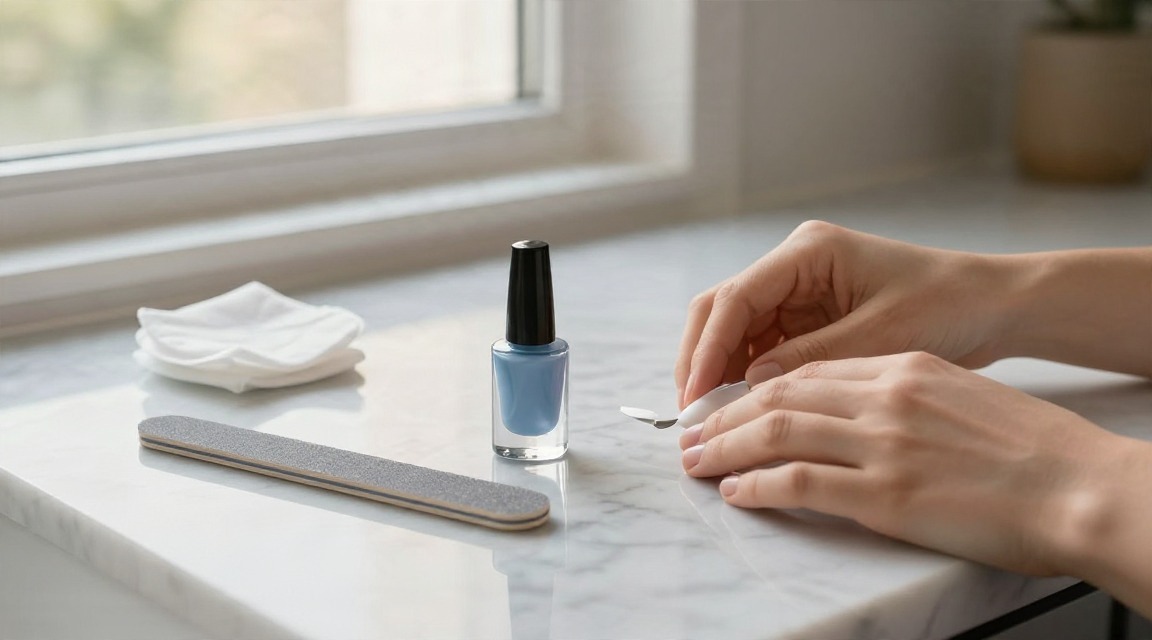
Start with a clean slate: remove old polish, wash away any oils, and gently push back cuticles so the nail surface is even. Lightly shape each nail with a file, then glide a buffer over the surface to erase ridges—this tiny step makes the difference between a salon finish and a home‑grown look.
- Fine‑grit nail file
- Gentle buffer
- Cuticle pusher or orange stick
- Cotton pads
- Simple clear polish (acts as a base coat)
Budget tip: Instead of a pricey base coat, a thin layer of any clear polish you already own creates the same protective barrier and helps the colour glide on evenly.
- Wipe each nail with a cotton pad soaked in rubbing alcohol to ensure it’s completely clean.
- File to your desired shape, then buff lightly for a uniform surface.
- Push back cuticles and trim any excess skin.
- Apply one thin swipe of clear polish, let it dry for about 30 seconds, and you’re ready for the luxe designs.
Pro tip: set a timer for five minutes—once it’s up, you’ll have a polished foundation that keeps any of the five modern nail designs looking expensive and sleek all day long.
1. Midnight Velvet Matte – Deep Charcoal With a Touch of Silver
Picture yourself stepping into a candle‑lit gala, the room hushed, and your nails catching the soft glow with a velvety charcoal sheen interrupted only by a sleek silver slash that runs like a runway across each tip.
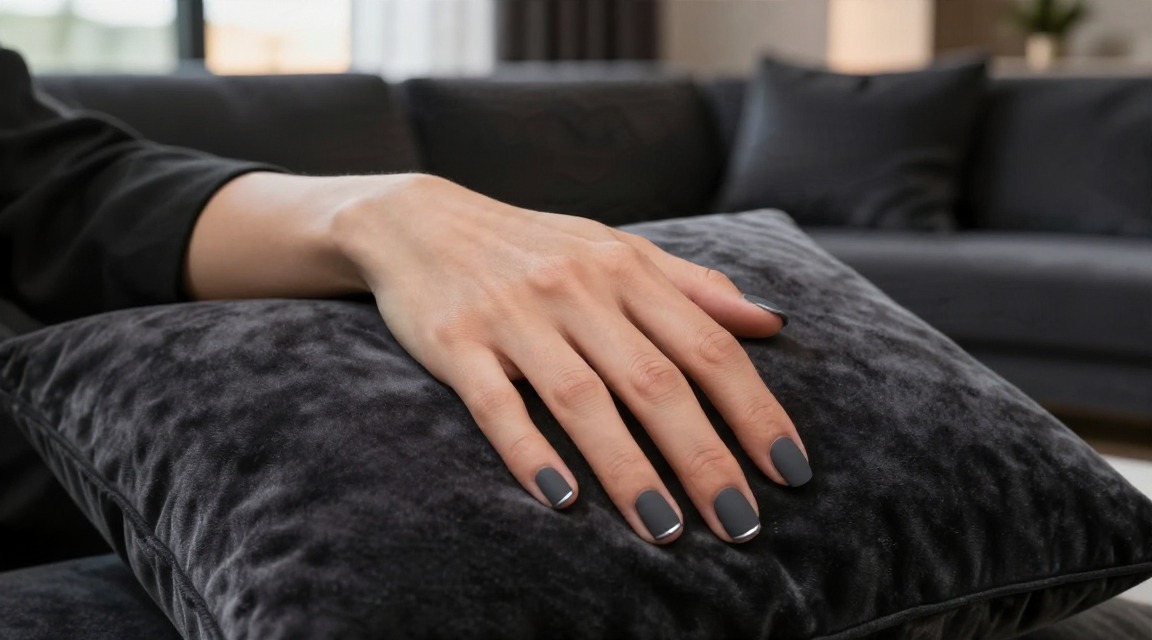
Best for: confident beginners, evening events, and anyone craving a luxe vibe without the salon price tag.
The deep matte base anchors the look, while the metallic line adds just enough sparkle to feel sophisticated yet understated—exactly the kind of statement that makes the 5 modern nail designs that look expensive and sleek feel within reach.
How to Nail the Matte Finish
- Charcoal polish (matte or regular)
- Silver metallic polish or a fine metallic foil strip
- Striping brush or thin nail art tape
- Matte topcoat (or the DIY version below)
- After your base coat is dry, paint each nail with two thin coats of charcoal polish; let it set fully.
- Apply a matte topcoat to lock in the velvety texture.
- While the topcoat is still tacky, place a strip of nail art tape about 2 mm from the free edge, then swipe a thin line of silver polish over the tape.
- Lift the tape carefully for a crisp, metallic accent that runs across the tip.
- Seal with a clear top coat to protect the line and add subtle shine.
Budget Swap: DIY Matte Topcoat
Mix a few drops of clear polish with a pinch of translucent baby powder in a tiny cup. Stir until smooth, then brush on a thin layer over your dried charcoal base. The powder mutes the shine, giving you a salon‑grade matte finish for pennies.
Best For: Evening Glam
This design pairs beautifully with a black silk dress, a metallic clutch, or a sleek tuxedo‑inspired outfit. The contrast of matte darkness and a flash of silver echoes the drama of low lighting, making your hands the quiet yet striking accessory.
Pro tip: Keep a spare strip of nail art tape in your purse for quick touch‑ups before the night’s first toast.
2. Blush Marble Minimalist – Soft Pink With White Veins
A whisper of pastel pink swirls with delicate white veins, like a tiny marble slab tucked onto each fingertip—ideal for a sun‑lit brunch, a polished office meeting, or a breezy spring date.

Best for: beginner to intermediate skill, daytime events, short‑to‑medium nails.
This soft‑pink base keeps the look wearable, while the subtle marble veining adds depth and a handcrafted vibe that feels luxuriously high‑end. The contrast of creamy pink and crisp white mimics natural stone without overwhelming a minimalist wardrobe, making it a versatile staple for any spring outfit.
Quick Steps for the Marble Effect
- Apply a thin base coat and let it dry.
- Paint the entire nail with a sheer pink polish; still tacky, dab a small amount of white polish onto a makeup sponge.
- Lightly tap the sponge onto the pink surface, creating wispy veins; blend with a clean brush tip if needed.
- Seal with a glossy top coat to lock in the marble pattern.
Make It Your Own: Add Gold Dust
For an extra touch of opulence, sprinkle fine gold dust over the wet white veins before the top coat dries. The metallic specks catch the light, turning a simple marble nail into a miniature piece of art.
Pro tip: Use a tiny brush to control the dust and avoid a glittery overload—just a whisper is enough to keep the look elegant.
3. Chrome Gradient Fade – From Mirror Silver to Soft Gray
Picture the sleek shimmer of a mirror at sunrise, melting into a soft pewter cloud across your fingertips.
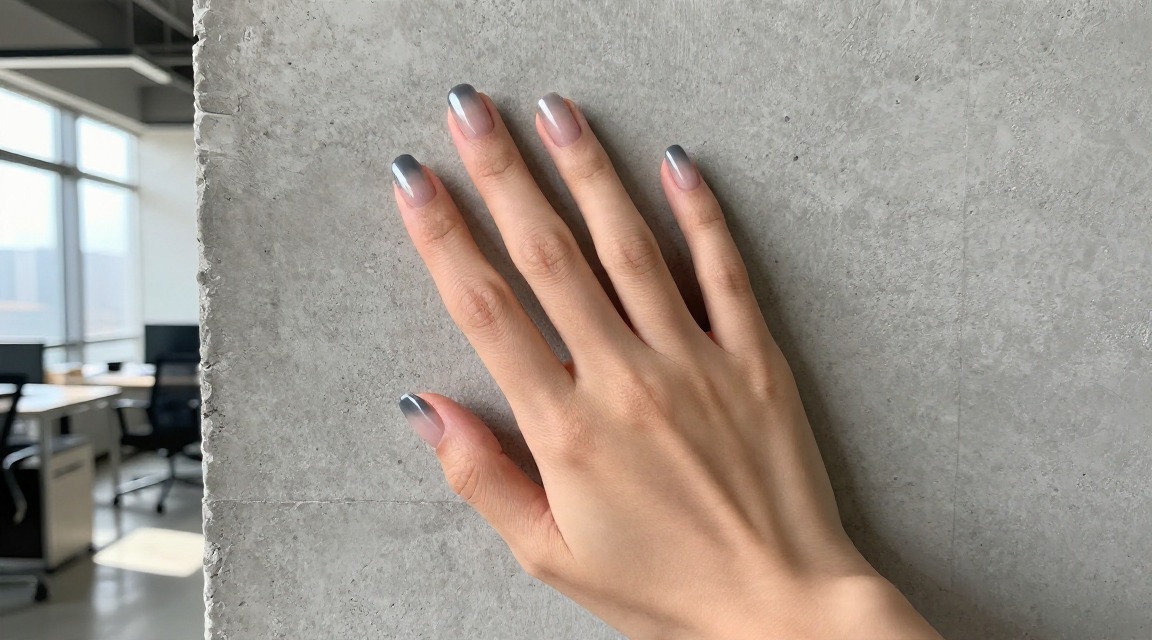
Best for: intermediate skill, office‑ready polish or creative‑studio vibe, medium to long nails.
The cuticle starts with a high‑shine chrome that catches every light, then fades gently into a muted gray tip. The gradient adds dimension, while the metallic catch‑light feels instantly pricey. It works because the reflective strip draws the eye, and the subtle gray tones the look so it stays sophisticated rather than over‑the‑top.
- Apply a thin base coat and let it dry.
- Paint the chrome polish or foil just at the cuticle, using a small brush to keep the line crisp.
- With a damp makeup sponge, dab the soft gray polish over the remaining nail, blending where the two meet.
- Seal with a glossy top coat to lock in the shine.
Tools You’ll Need
- Base coat
- Chrome liquid or foil (mirror‑silver finish)
- Soft gray polish (a cool, muted tone)
- Small detail brush or fine‑tip brush
- Makeup sponge for blending
- Glossy top coat
Adaptation: Use a Chrome Powder for a Budget Version
If a chrome liquid feels pricey, swap it for a chrome powder mixed with a clear gel base. Apply the powder with a flat brush, then press a quick‑dry top coat over it. The result mirrors the metallic intensity without the cost, and you can reuse the powder for future nail sessions.
Pro tip: Blend the gray while the chrome is still tacky; the fresh tackiness helps the colors fuse seamlessly for a smoother fade.
4. Geometric Negative Space – Black Grid on Nude Base
Picture yourself strolling through a sleek gallery, the walls a crisp white and the lighting soft, while your nails echo the architecture with a clean black grid set against a nude canvas. The design feels both understated and avant‑garde, a perfect visual whisper that says you’re in the know.
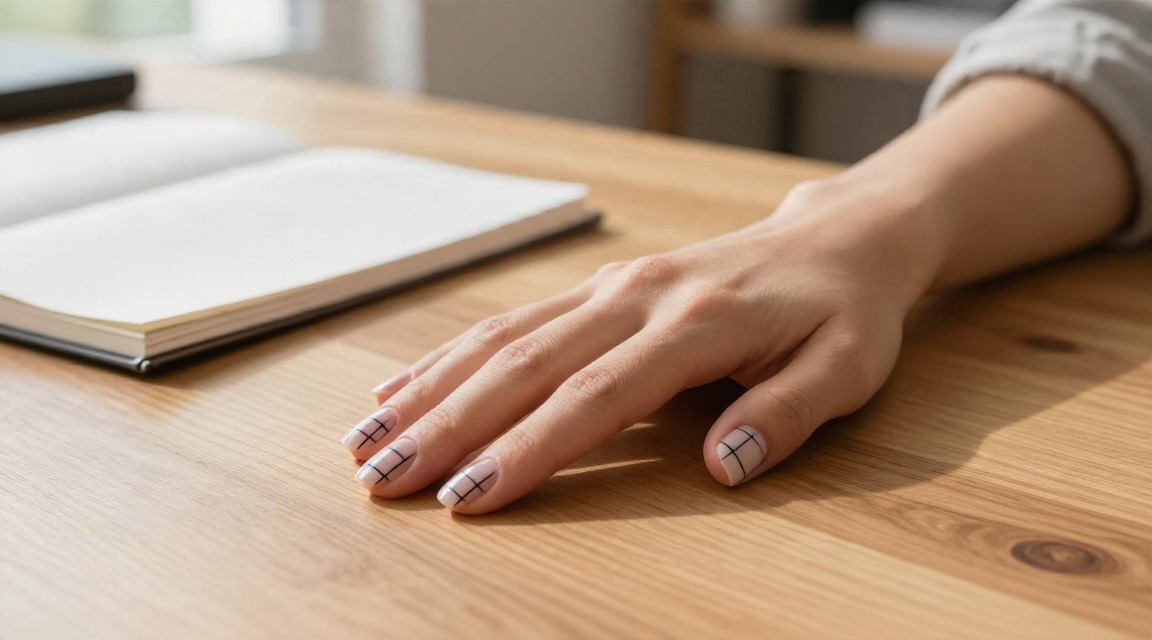
Best for: Creative‑minded beginners, short to medium nails, art openings or any gallery‑hop vibe.
The nude base acts as a neutral runway, letting the stark black lines command attention without overwhelming. Negative space keeps the look airy, while the grid adds a touch of structural drama that feels instantly luxe.
Painting the Grid
- Sheer nude polish (any sheer milky tone)
- Matte black nail polish
- Fine‑point brush or a nail art striping tool
- Base coat and top coat
- Apply a thin base coat, then paint the entire nail with the nude polish and let it dry.
- Using the fine‑point brush, dip just the tip into the black polish, wipe excess on the brush tip, and draw a vertical line down the center of each nail.
- Rotate the brush 90° and add a horizontal line, intersecting to form a crisp grid; repeat for each nail.
- Seal the design with a quick‑dry top coat to lock in the matte contrast.
Make It Pop: Add a Tiny Metallic Dot
Before the top coat sets, place a single speck of metallic foil (silver or gold) at the intersection of the grid on one accent nail. Use a tiny dot applicator or the tip of a toothpick to keep it precise. This subtle sparkle catches the light and turns the grid from graphic to glam.
Pro tip: Keep the dot tiny—just a millimeter—so it feels like a secret detail you’ll discover with every glance.
5. Emerald Velvet Accent – Deep Green Matte With a Glossy Tip
Picture a deep emerald velvet that glides across your fingertips, capped with a sleek, glossy tip that catches every candlelight at a cocktail party or holiday gathering.

Best for: intermediate skill, evening events, anyone who loves a luxe jewel tone with a modern twist.
Getting the Two‑Tone Effect
- Matte deep‑green polish (or a dark green you can matte with a matte topcoat)
- Clear glossy polish or a high‑shine topcoat
- Thin striping tape or a nail‑tip guide
- Base coat and regular top coat
- Apply a thin base coat and let it set.
- Cover the entire nail with the matte green and allow it to dry completely.
- Place striping tape about 2 mm from the nail tip, creating a clean band.
- Swipe the clear glossy polish over the exposed tip area; the tape protects the matte portion.
- Remove the tape while the gloss is still tacky, then seal the whole look with a clear top coat.
Budget Swap: Use a Gel Topcoat for the Glossy Tip
If you already own a gel topcoat, you can skip buying a separate glossy polish. Apply the gel topcoat only to the tip band, cure it under a UV/LED lamp, and finish with a quick wipe of any tacky residue. The gel’s natural high‑shine mimics a glass‑like tip while keeping the cost low.
Pro tip: Lightly press a velvet‑finish powder onto the matte green before the final top coat for an extra depth that feels truly custom‑designed.
Which Look Should You Try First?
Picture the moment you open your closet and spot the perfect outfit—now add a nail look that feels like a designer secret, ready to turn heads at brunch, a virtual meeting, or a night out.
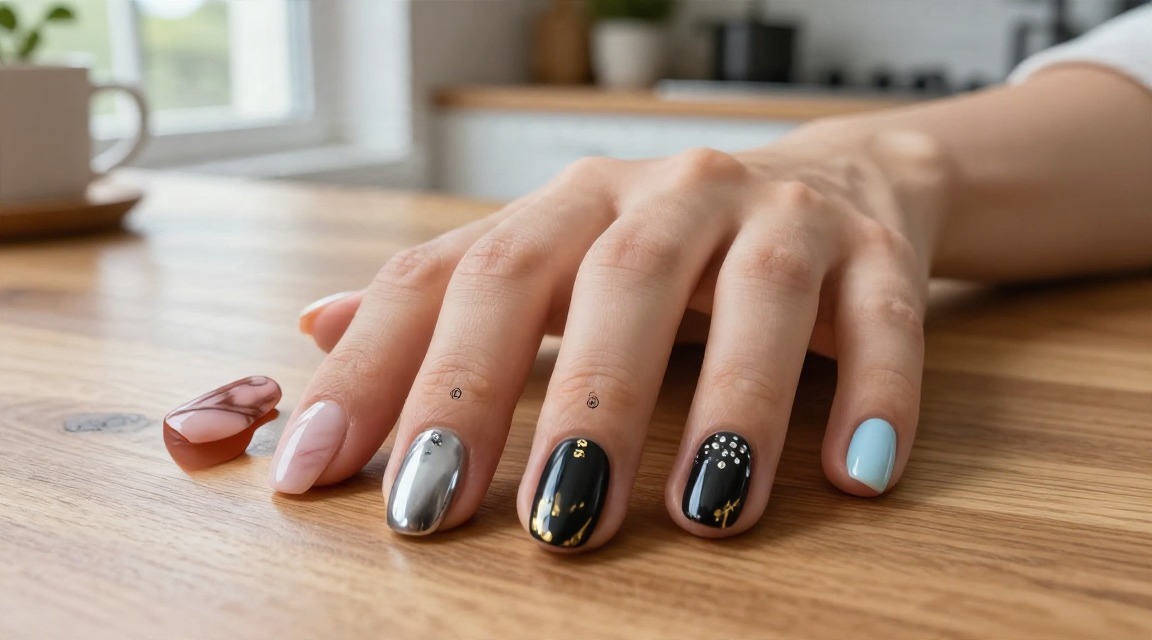
If you’re just starting out, the Blush Marble Minimalist offers a soft, sophisticated vibe with a forgiving brush‑stroke technique, making it the ideal first‑step into modern nail art without breaking the bank.
Feel comfortable with a little more flair? The Chrome Gradient Fade gives you a runway‑ready transition from mirror‑bright silver to muted gray, a mid‑level challenge that rewards you with a luxe, reflective finish using a simple chrome powder.
When you’re ready to make a statement, the Midnight Velvet Matte delivers deep charcoal drama accented by silver, perfect for evening events and those who love a bold, matte texture.
For a crisp, contemporary edge, the Geometric Negative Space pairs a nude base with a black grid—easy to execute yet instantly modern, great for work‑day confidence or minimalist chic.
And if you love a pop of color with a touch of glamour, the Emerald Velvet Accent combines a matte forest green with a glossy tip, striking for date nights or festive gatherings.
- Beginner‑friendly: Blush Marble Minimalist – soft pink, white veins, low‑budget tools.
- Mid‑level: Chrome Gradient Fade – silver to gray, chrome powder swap.
- Bold statement: Midnight Velvet Matte – deep charcoal, silver highlights.
- Modern minimal: Geometric Negative Space – nude base, black grid.
- Color pop: Emerald Velvet Accent – matte green, glossy tip.
Start with the design that mirrors your current mood and wardrobe, and let your nails become the effortless accessory that ties the whole look together.