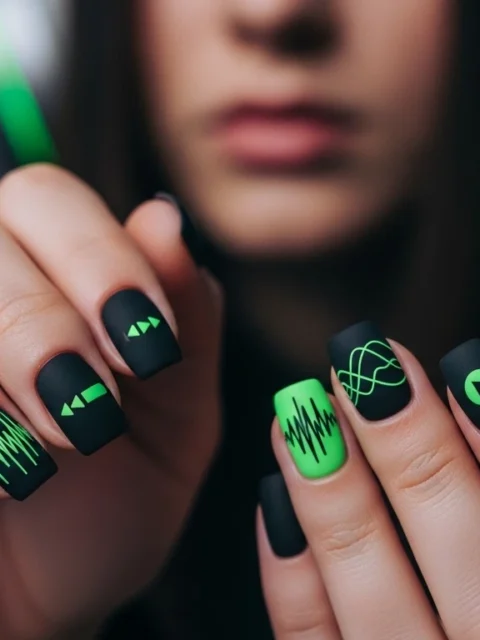
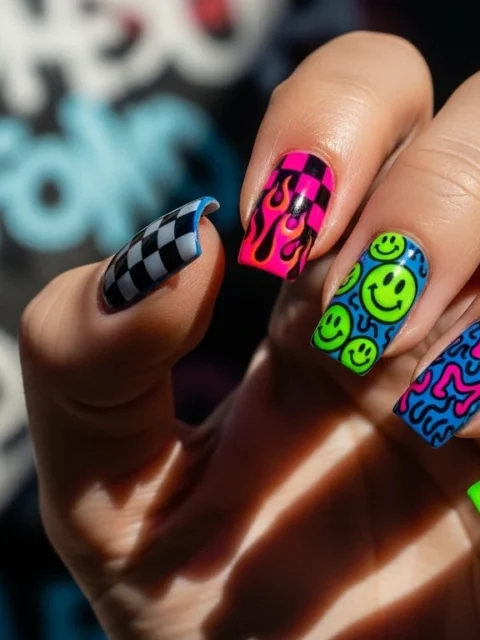
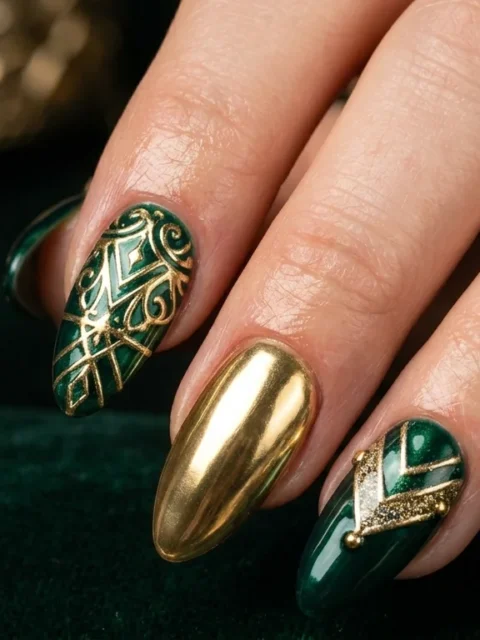
Summer is finally here, and you know what that means – music festivals, outdoor adventures, and a whole lot of fun in the sun. But, let’s be real, the truth is, our nail art can often get left behind in the excitement of it all. We’ve all been there – rushing to get ready for a festival, only to realize our nails are a bit of a mess.
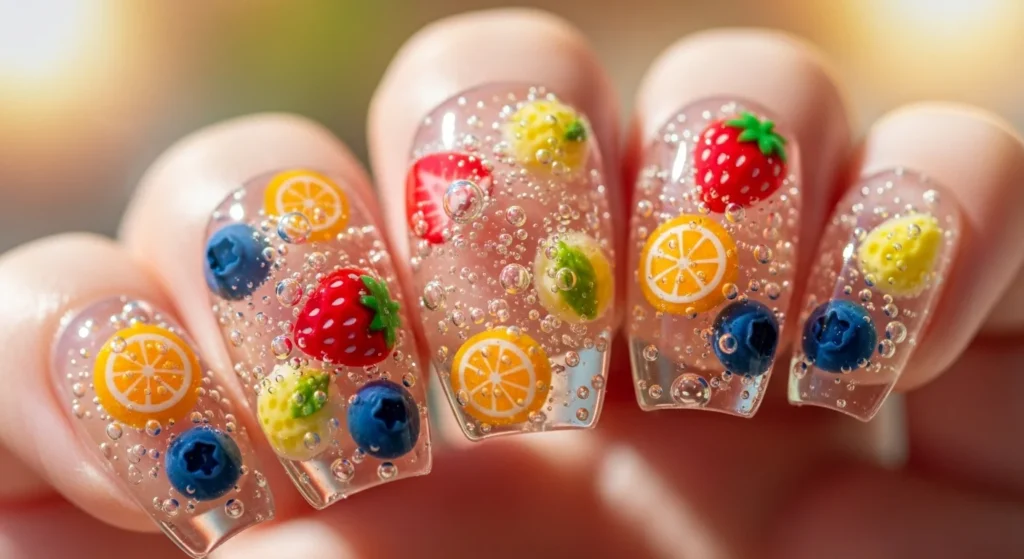
That’s why I’m excited to share these 7 Summer Funky Festival Nails with you. With a little creativity and some easy-to-follow steps, you can take your nail game to the next level.
To get started, you’ll need a few basic nail art tools, such as a nail polish brush, a dotting tool, and some nail guides. Don’t worry if you’re a beginner – these designs are perfect for all skill levels, from novice to expert. You’ll also need a variety of nail polish colors, including brights, pastels, and neons.
Most people miss the fact that creating festival-inspired nail art can be quick and easy – we’re talking under 30 minutes per design. For example, a simple glitter ombre design can be achieved in just 15 minutes, using a few basic tools and some glitter polish. Over the next few sections, I’ll be sharing all 7 of these summer funky festival nails, along with step-by-step instructions on how to create them.
1. Neon Geometric Nails
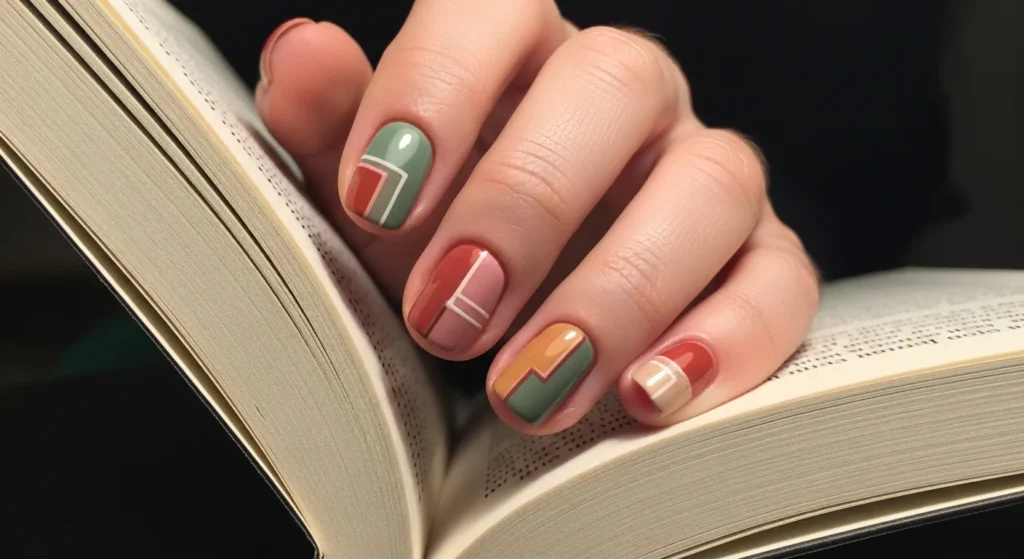
Neon geometric nails are a fun and easy way to add some personality to your summer look. Adding a pop of color can instantly elevate your style. To create this design, you’ll need a few basic nail art tools, including a nail polish brush, a dotting tool, and a neon nail polish like Sally Hansen’s Neon Pink. Here’s the thing: with a little practice, you can achieve a professional-looking geometric pattern. Simply paint a geometric pattern onto your nails using the neon polish, and then add some fun details with the dotting tool. This design is perfect for beginners, requires a skill level of 2/5, and can be completed in about 30 minutes using the following materials and tools:
- Nail polish brush
- Dotting tool
- Neon nail polish
- Base coat
- Top coat
- Nail cleanser
The steps to create this design are:
- Prep your nails with a base coat
- Paint a geometric pattern onto your nails using the neon polish
- Add fun details with the dotting tool
- Finish off the look with a top coat
2. Rainbow Ombre Nails
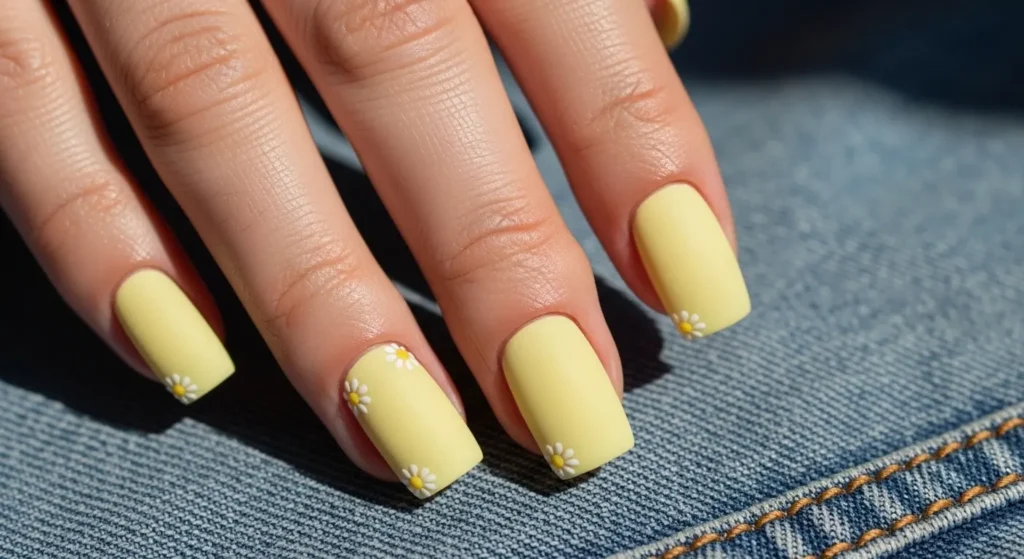
Rainbow ombre nails are a classic summer look that’s easy to create and always in style. Creating a gradient effect can add depth and visual interest to your nails. To get this look, you’ll need a few different shades of nail polish, including a base coat, a top coat, and several colors of polish in between, such as OPI’s Rainbow Connection. Most people overlook the importance of using a makeup sponge to create a smooth gradient effect. Start by painting a base coat onto your nails, and then use the sponge to blend the different colors of polish together. Finish off the look with a top coat and some fun nail art details. This design requires a skill level of 3/5 and can take about 45 minutes to complete using the following materials and tools:
- Nail polish brush
- Makeup sponge
- Nail polish in multiple colors
- Base coat
- Top coat
- Nail cleanser
The steps to create this design are:
- Prep your nails with a base coat
- Apply multiple colors of polish to the sponge
- Dab the sponge onto your nails to create a gradient effect
- Finish off the look with a top coat
3. Glitter Accent Nails
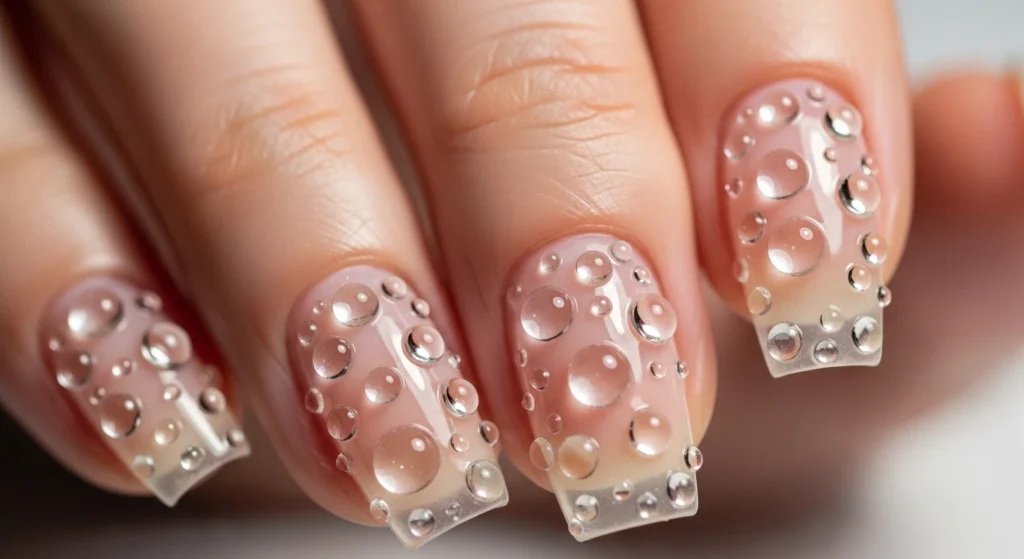
Glitter accent nails are a great way to add some extra sparkle to your summer look without going overboard. Adding a touch of glamour can make your nails stand out. To create this design, you’ll need a few basic nail art tools, including a nail polish brush, a dotting tool, and some glitter polish like Essie’s Glitter On Top. With a little creativity, you can use the dotting tool to add intricate glitter details to your nails. Simply paint a coat of clear polish onto your nails, and then use the dotting tool to add some glitter accents. This design is perfect for beginners, requires a skill level of 2/5, and can be completed in about 20 minutes using the following materials and tools:
- Nail polish brush
- Dotting tool
- Glitter polish
- Clear polish
- Base coat
- Top coat
The steps to create this design are:
- Prep your nails with a base coat
- Paint a coat of clear polish onto your nails
- Use the dotting tool to add glitter accents
- Finish off the look with a top coat
4. Summer Florals Nails
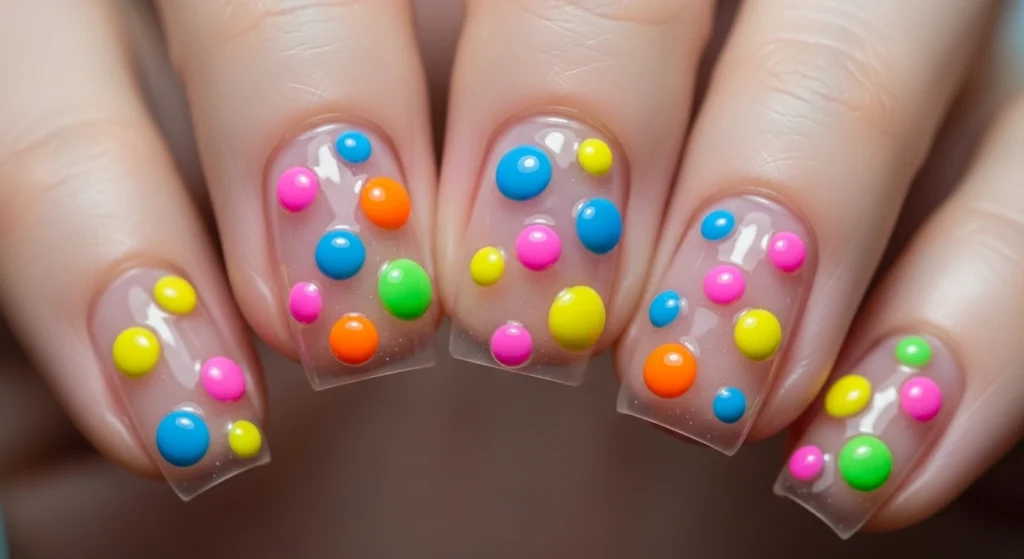
Summer florals nails are a fun and playful way to celebrate the season. Incorporating floral patterns can add a touch of whimsy to your nails. To create this design, you’ll need a few basic nail art tools, including a nail polish brush, a dotting tool, and some floral-themed nail stickers like Jamberry’s Floral Collection. By combining different floral patterns and colors, you can create a unique and eye-catching design. Simply paint a base coat onto your nails, and then use the dotting tool to add some fun floral details. Finish off the look with some floral-themed nail stickers and a top coat. This design is perfect for beginners, requires a skill level of 2/5, and can be completed in about 30 minutes using the following materials and tools:
- Nail polish brush
- Dotting tool
- Floral-themed nail stickers
- Base coat
- Top coat
- Nail cleanser
The steps to create this design are:
- Prep your nails with a base coat
- Paint a base color onto your nails
- Use the dotting tool to add floral details
- Apply floral-themed nail stickers
- Finish off the look with a top coat
5. Chrome Nail Art
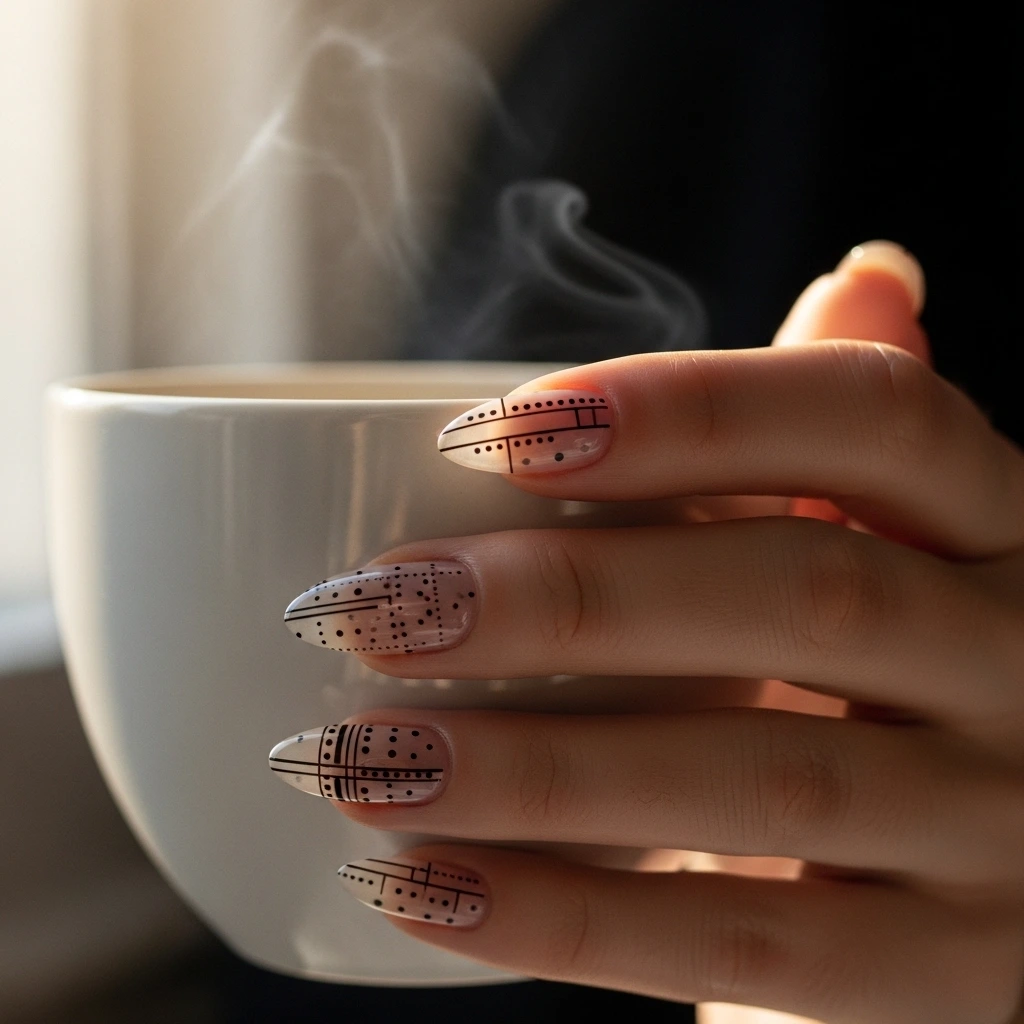
Chrome nail art is a trendy and eye-catching way to add some personality to your summer look. Creating a mirror-like finish can make your nails stand out. To create this design, you’ll need a few basic nail art tools, including a nail polish brush, a dotting tool, and some chrome nail polish like Chrome Nail Polish by Nails Inc. By using a special chrome powder, you can achieve a high-shine finish that’s perfect for summer. Simply paint a base coat onto your nails, and then use the dotting tool to add some fun chrome details. Finish off the look with a top coat and some fun nail art details. This design requires a skill level of 3/5 and can take about 45 minutes to complete using the following materials and tools:
- Nail polish brush
- Dotting tool
- Chrome nail polish
- Chrome powder
- Base coat
- Top coat
The steps to create this design are:
- Prep your nails with a base coat
- Paint a base color onto your nails
- Use the dotting tool to add chrome details
- Apply chrome powder for a high-shine finish
- Finish off the look with a top coat
6. Tie-Dye Nails
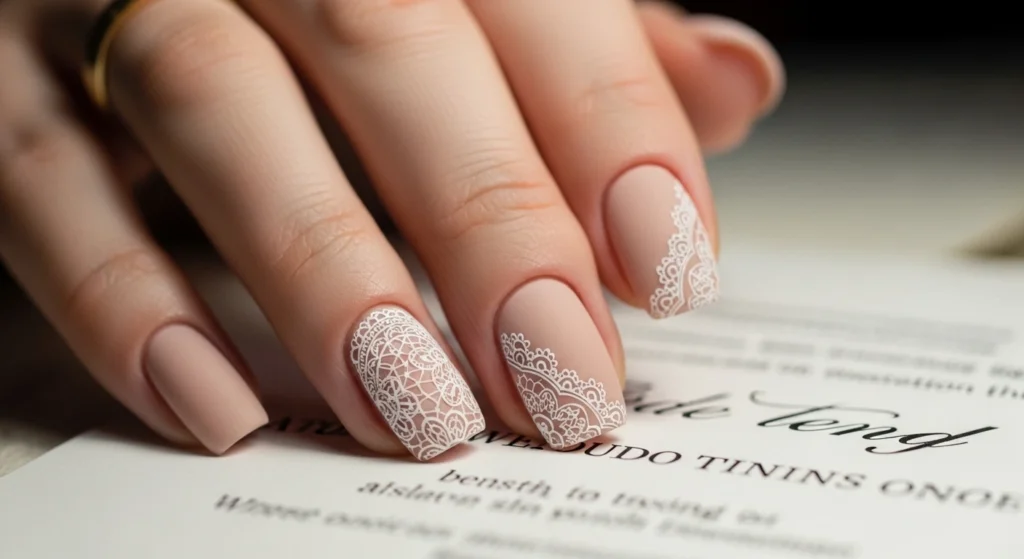
Tie-dye nails are a fun and playful way to celebrate the summer season. Creating a unique, multicolored effect can add visual interest to your nails. To create this design, you’ll need a few basic nail art tools, including a nail polish brush, a dotting tool, and some tie-dye-themed nail polish like Tie-Dye Nail Polish by China Glaze. By using a special tie-dye technique, you can achieve a one-of-a-kind design that’s perfect for summer. Simply paint a base coat onto your nails, and then use the dotting tool to add some fun tie-dye details. Finish off the look with a top coat and some fun nail art details. This design is perfect for beginners, requires a skill level of 2/5, and can be completed in about 30 minutes using the following materials and tools:
- Nail polish brush
- Dotting tool
- Tie-dye-themed nail polish
- Base coat
- Top coat
- Nail cleanser
The steps to create this design are:
- Prep your nails with a base coat
- Paint a base color onto your nails
- Use the dotting tool to add tie-dye details
- Finish off the look with a top coat
7. Holographic Nails
Holographic nails are a trendy and eye-catching way to add some personality to your summer look. Creating a 3D-like effect can make your nails stand out. To create this design, you’ll need a few basic nail art tools, including a nail polish brush, a dotting tool, and some holographic nail polish like Holographic Nail Polish by Deborah Lippmann. By using a special holographic powder, you can achieve a high-shine finish that’s perfect for summer. Simply paint a base coat onto your nails, and then use the dotting tool to add some fun holographic details. Finish off the look with a top coat and some fun nail art details. This design requires a skill level of 3/5 and can take about 45 minutes to complete using the following materials and tools:
- Nail polish brush
- Dotting tool
- Holographic nail polish
- Holographic powder
- Base coat
- Top coat
The steps to create this design are:
- Prep your nails with a base coat
- Paint a base color onto your nails
- Use the dotting tool to add holographic details
- Apply holographic powder for a high-shine finish
- Finish off the look with a top coat
How to Choose
When it comes to selecting the perfect summer funky festival nails, it can be overwhelming with so many amazing options available. To narrow down your choices, consider your personal style and think about what makes you unique. For example, if you’re a fan of bright colors, you may want to try a design that features neon hues.
Generally, the occasion also plays a significant role in choosing the right nail design. If you’re attending a music festival, you may want to opt for a bold and eye-catching design that reflects the festival’s vibe. On the other hand, if you’re attending a more low-key event, you may want to choose a more subtle design.
Most people miss the fact that budget and space can also impact their nail design choices. If you’re on a tight budget, you may want to consider using affordable materials like nail polish and stickers. Additionally, if you have limited space, you may want to opt for a design that requires minimal equipment, such as a nail art brush and a dotting tool.
The truth is, choosing the right nail design is all about experimenting and having fun. Don’t be afraid to try something new and step out of your comfort zone. With a little practice and patience, you can create a unique and stunning design that showcases your personality. For instance, you can try a design that features glitter polish, holographic powder, and nail stickers, which can be purchased at most beauty supply stores.
To get started, make sure you have the following materials and tools:
- Nail polish
- Nail stickers
- Glitter polish
- Holographic powder
- Dotting tool
- Nail art brush
- Base coat
- Top coat
- Nail file
- Cuticle pusher
- Orange stick
- Nail cleanser
- Lint-free wipes
In terms of skill level, most of the designs featured in this article are suitable for intermediate level nail artists. However, with some practice and patience, beginners can also achieve professional-looking results. The time estimate for each design varies, but most can be completed within 30 minutes to an hour.
Here’s an example of how to choose a design based on your personal style:
- Start by thinking about your favorite colors and patterns.
- Consider the occasion and the vibe you want to create.
- Look for inspiration online or in nail art books.
- Narrow down your options to a few designs that resonate with you.
- Practice and experiment with different techniques and materials until you find the perfect design.
By considering these factors and having fun with the process, you can choose a summer funky festival nail design that’s perfect for you and your unique style. Whether you’re a seasoned nail artist or a beginner, the key is to be creative and experiment with different designs and techniques.
Frequently Asked Questions
When it comes to creating summer funky festival nails, there are a few questions that often come up. One of the most common questions is:
What are the best nail polishes to use for summer nail art?
The best nail polishes to use for summer nail art are those that are long-lasting and chip-resistant. Look for polishes that are specifically labeled as “summer-friendly” or “nail art” polishes. For example, a polish like Sally Hansen’s Insta-Dri is a great option because it dries quickly and has a wide range of vibrant colors to choose from. Additionally, consider using a base coat and top coat to help extend the life of your nail art design.
How can I make my nail art last longer?
To make your nail art last longer, it’s essential to prepare your nails properly before applying polish. This includes cleaning and buffing your nails to create a smooth surface for the polish to adhere to. You can also use a nail art sealant to help protect your design from chipping and fading. For instance, a product like Nailene’s Nail Art Sealant can be applied over your design to give it an extra layer of protection. By taking these steps, you can help extend the life of your summer funky festival nail design.
What are some fun and easy nail art designs to try at home?
There are many fun and easy nail art designs to try at home, even if you’re a beginner. One simple design is a striped pattern, which can be created using nail tape and polish. To get started, you’ll need a few basic materials, including nail polish, nail tape, nail glue, nail files, cuticle pusher, orange stick, and nail art brushes. This design requires a skill level of beginner and can be completed in about 30 minutes. Here are the steps to follow:
- Apply a base coat to your nails.
- Use nail tape to create a striped pattern.
- Apply polish to the taped areas.
- Remove the nail tape and apply a top coat.
How can I remove nail polish without damaging my nails?
Removing nail polish without damaging your nails requires some care and attention. The truth is, most people miss the importance of using a gentle nail polish remover. Look for a remover that is acetone-free and moisturizing, such as Cutex’s Nail Polish Remover. To remove polish, you’ll need a few basic tools, including nail polish remover, cotton balls, and nail files. This process requires a skill level of beginner and can be completed in about 10 minutes. Here are the steps to follow:
- Soak a cotton ball in nail polish remover.
- Place the cotton ball on your nail and let it sit for a few seconds.
- Gently wipe away the polish.
- Use a nail file to smooth out any remaining polish.
What are some popular nail art trends for summer?
Some popular nail art trends for summer include bright colors, neon accents, and fun designs like floral patterns and geometric shapes. For example, a summer-themed nail art design featuring palm trees and flamingos is a great way to get into the summer spirit. To create this design, you’ll need a few basic materials, including nail polish, nail art brushes, nail glue, and nail files. This design requires a skill level of intermediate and can be completed in about 45 minutes. Here are the steps to follow:
- Apply a base coat to your nails.
- Use nail polish and nail art brushes to create a palm tree design.
- Add neon accents to the design using nail polish and a small brush.
- Finish the design with a top coat.
Key Takeaways
To recap, we’ve explored the world of summer funky festival nails and discovered seven unique designs to spice up your look. From Neon Geometric Nails to Holographic Nails, each design offers a distinct way to express your personality.
When it comes to creating these looks, it’s essential to have the right nail art tools and materials. Here’s a list of what you’ll need:
- Nail polish in various colors
- Nail art brushes in different sizes
- Nail dotting tools
- Nail stickers or nail guides
- Base coat and top coat
- Neon accents or glitter polish
- Holographic nail polish or holographic top coat
To get started, consider your skill level and choose a design that suits you. If you’re a beginner, you may want to start with a simpler design like Rainbow Ombre Nails, which can be completed in about 30 minutes. For more complex designs like Holographic Nails, you’ll need to allocate around 45-60 minutes.
Here are six key takeaways to keep in mind:
- Always apply a base coat to protect your nails and promote polish adhesion.
- Use nail art brushes to create intricate designs and patterns.
- Neon accents can add an extra layer of fun and personality to your nail art.
- Holographic nail polish can be used to create a 3D effect on your nails.
- Practice makes perfect, so don’t be discouraged if your first attempts at nail art don’t turn out as expected.
- Most people miss the importance of finishing with a top coat, which helps seal in your design and add shine to your nails.
For example, if you’re looking to create a palm tree design, you can use nail polish and nail art brushes to paint the trees and add neon accents for a pop of color. The truth is, with a little patience and practice, you can create stunning summer funky festival nails that will make you stand out from the crowd.
In conclusion, with these tips and tricks, you’re ready to get creative and try out one of these fun and funky nail art designs today – so why not save this article to your Pinterest board for later and get started on your next nail art adventure! Save this to your Pinterest board now and start planning your next nail art look!